Teaching triple extension in pitching starts with helping the athlete coordinate the drive leg, landing and rotation. The coach’s job is to choose a practice task that makes that relationship understandable, then decide whether the athlete can preserve it as the task becomes more demanding.
In TopVelocity’s 3X methodology, triple extension describes the drive-leg action associated with the ankle, knee and hip. This article offers a three-stage coaching progression for teaching that idea. It is a practice framework, not a complete throwing or strength program, and the stages should fit the athlete’s current training plan.
See this inside the Player Portal
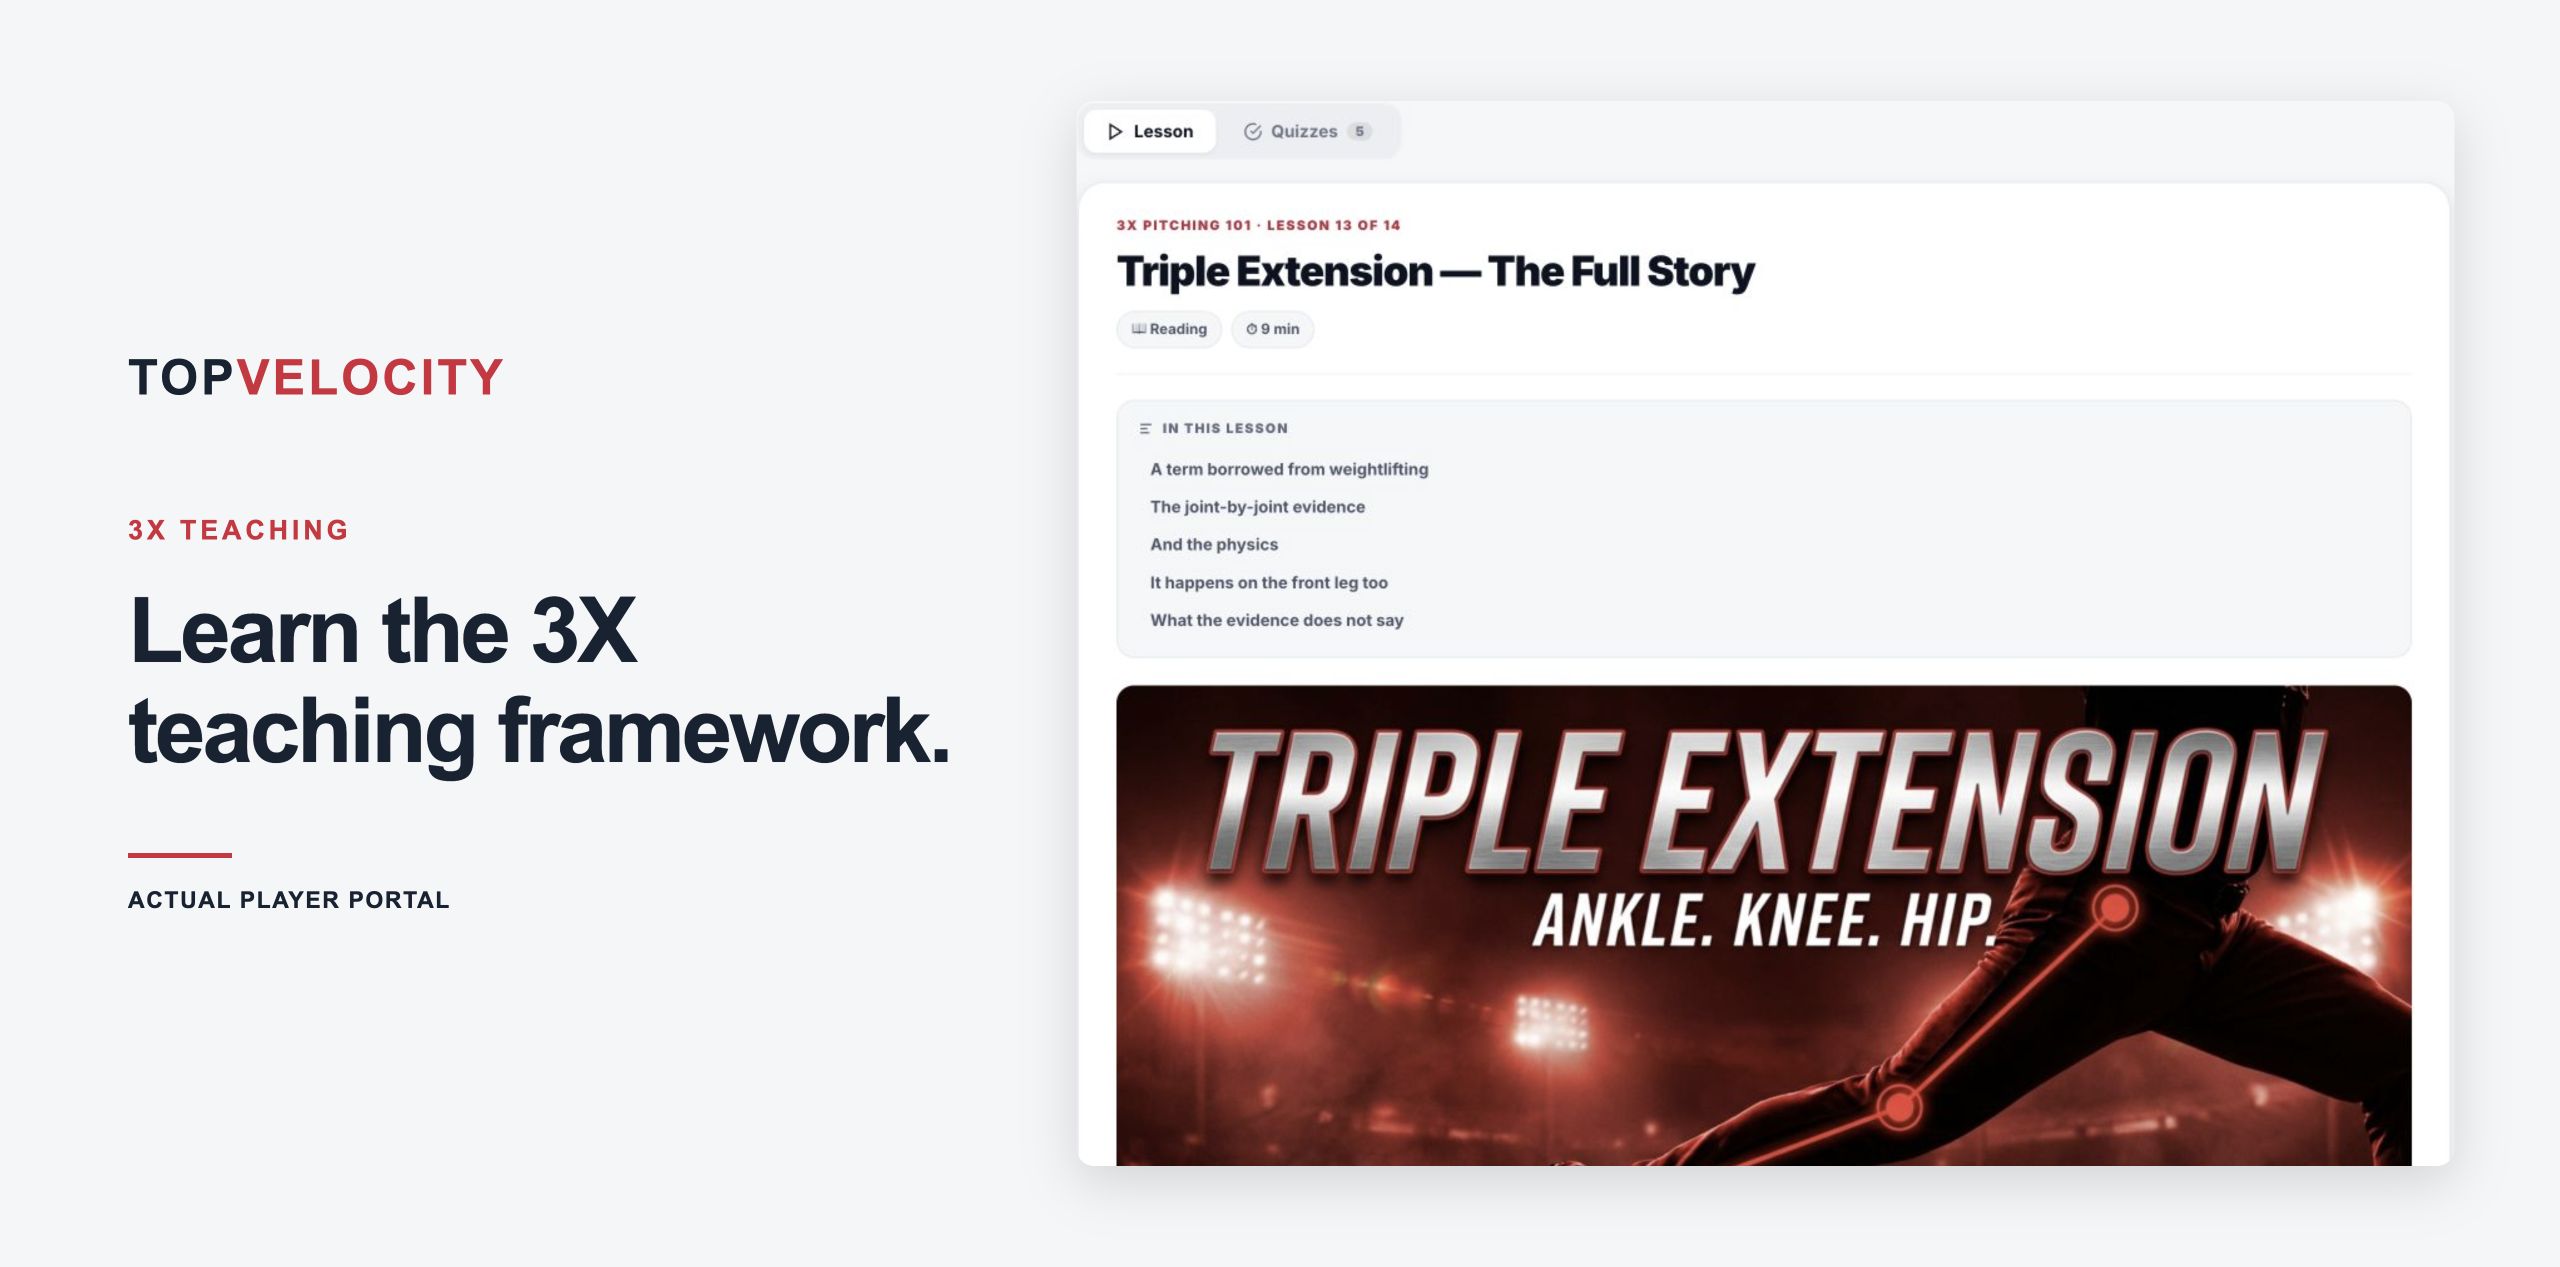
The Player Portal includes Triple Extension — The Full Story within 3X Pitching 101. The lesson preview above makes the teaching resource visible; its outline includes the evidence and its limits. Use the curriculum to establish shared terminology, then evaluate the athlete’s response in the specific task being coached.
See the portal in an organization demo or review organization plans and register.
Explain the movement in language the pitcher can use
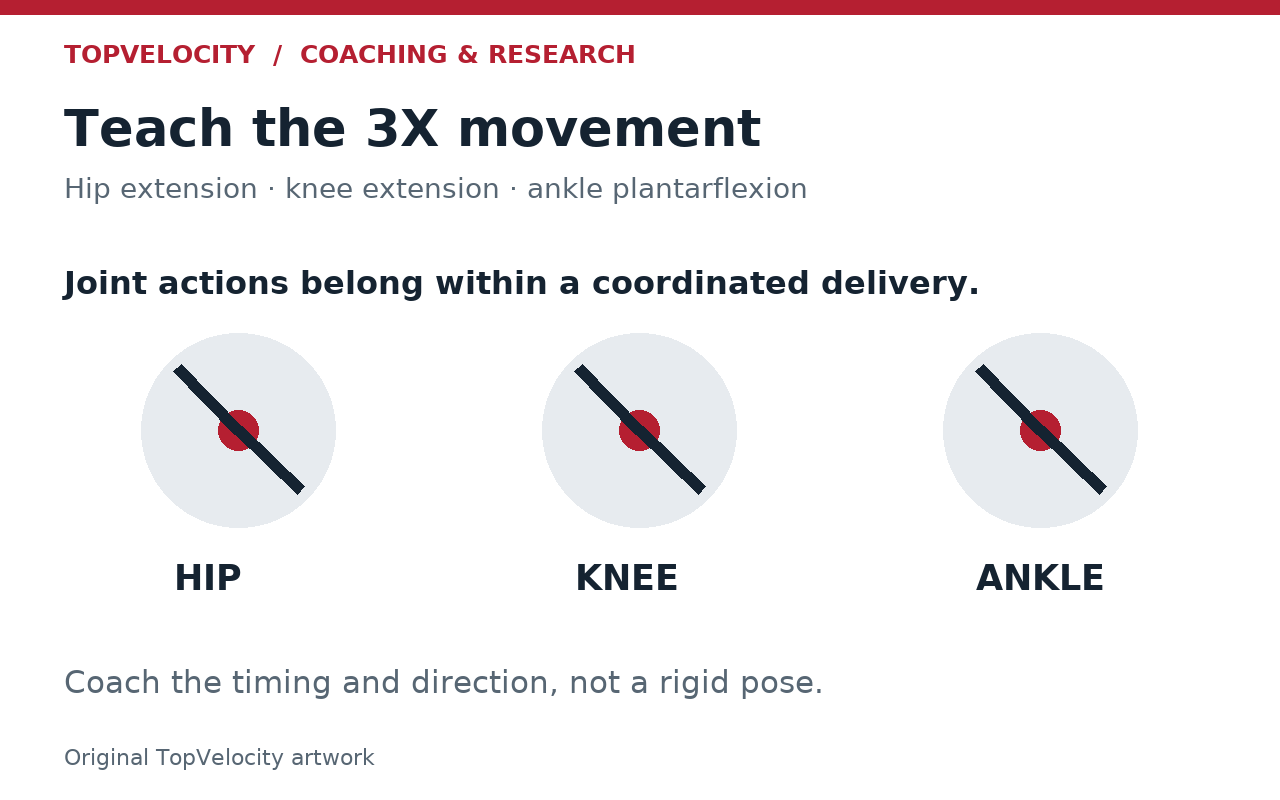
For anatomical precision, the relevant actions are hip extension, knee extension and ankle plantarflexion. Plantarflexion is the ankle action commonly described as pointing the foot away from the shin. During a pitch, these actions occur within a moving, rotating body that is interacting with the ground.
TopVelocity’s 2010 explanation of triple extension places particular importance on its timing with hip-to-shoulder separation and front-foot contact. A coach can use that relationship to organize instruction without asking every athlete to reproduce one frozen picture.
Start by asking the pitcher to describe what the drive leg is doing and when the front foot arrives. If the explanation requires remembering five simultaneous commands, simplify it. One understandable movement intention gives the coach a clearer observation to discuss after the attempt.
Watch the sequence through landing
The drive-leg action belongs in the delivery’s continuous movement toward and through foot contact. Watch how the pelvis and trunk respond as the athlete moves into landing. An apparently extended back leg tells only part of that story.
In a seven-pitcher laboratory study, MacWilliams and colleagues measured contributions from both the push-off and landing legs. In Kageyama and colleagues’ study of 30 collegiate pitchers, comparisons between faster and slower subgroups found differences in lower-limb forces and joint torques. These observational studies support examining the lower body as a connected system. They did not test this teaching progression or establish a mandatory triple-extension pattern for every pitcher.
The front leg must also be considered as part of the movement. Avoid making a locked front knee the entry requirement for learning the drive leg. Assess how the athlete receives the landing and continues the delivery, with the coach adapting the task to the individual.
Stage 1: Learn the relationship in a simple rehearsal
Purpose: Help the pitcher recognize drive-leg action and the relationship between pelvis and trunk without having to solve ball release at the same time.
Choose a familiar, comfortable starting position and rehearse the movement without a ball. Use an easy pace that allows the athlete to attend to the task. The coach should demonstrate the intended relationship, then select one cue in the pitcher’s own language. An example is, “Let the lower body lead the movement toward landing.”
Observe the full attempt before giving feedback. Did the athlete move continuously? Did the cue create the intended change, or did the athlete compensate by twisting the shoulders or reaching the front foot farther? Ask what the pitcher felt, then connect that answer to what you observed.
Move forward when the athlete can explain and reproduce the task without constant correction. If he cannot, change the explanation or simplify the starting position. Repeating an unclear instruction more forcefully is unlikely to clarify the task.
Stage 2: Connect the drive to a controlled stride and landing
Purpose: Preserve the rehearsed relationship while the body travels into front-foot contact.
Add a controlled stride from the pitcher’s chosen starting position. Keep the same primary cue while observing whether the drive-leg action, arrival of the front foot and rotation remain coordinated. The athlete should be moving through the task, rather than pausing at each position to satisfy the coach.
Use a consistent camera view if video helps the discussion. Review the transition around foot contact, including several frames before and after it. A heel rising or a knee straightening can be described from video; the amount and direction of ground force require appropriate measurement equipment.
If the athlete can only produce the desired appearance by overreaching, abruptly straightening the knee or interrupting the delivery, revisit the task. Adjust one element, such as the starting position or cue, and observe again. The advancement decision is about coordinating the movement, not achieving a prescribed stride length.
Stage 3: Carry the movement into a regulation-ball task
Purpose: Determine whether the athlete can use the movement while completing an actual throwing task.
Within the existing throwing plan, introduce a regulation baseball and a clear target. The coach selects an appropriate setting and effort for that athlete. Begin with the same movement intention used in rehearsal, then allow attention to move toward completing the throw.
Compare what happened to both the delivery and the task. Did the athlete preserve the intended coordination? Could he direct the ball toward the target? Did adding the ball produce a new compensation that was absent in rehearsal?
A poor attempt does not require a new cue immediately. Look for a pattern before changing the instruction. If the task remains difficult, return to the most recent stage the athlete could perform clearly. Pain is a reason to stop and involve the appropriate clinician, not a reason to push the mechanical cue harder.
Use a coaching worksheet to choose the next task
TopVelocity’s 2018 foundation article organizes skill practice by task complexity. The worksheet below applies that principle to this progression. These are blank planning fields, not research results or athlete records.
| Practice stage | Record after the attempt | Choose the next action |
|---|---|---|
| Simple rehearsal | Athlete’s explanation and one working cue: ______ | Repeat / simplify / add stride: ______ |
| Stride and landing | Observed coordination and any compensation: ______ | Keep cue / change task / add ball: ______ |
| Regulation-ball task | Movement observation and target result: ______ | Continue / revisit earlier stage / review: ______ |
Record the athlete’s task, the cue, what happened and why the next task was chosen. This gives another coach enough information to continue the lesson without reconstructing it from memory.
Keep the lesson connected to the athlete’s development
The 2013 TopVelocity mechanics article connects movement instruction with physical ability, while the 2024 Foundations of 3X Pitching article places coaching education within the wider system. A movement lesson can identify a question about capacity; it does not automatically supply the answer or a lifting prescription.
For professional staffs, discuss a 3X coaching-development project with Brent Pourciau. Bring the movement question, the athlete’s existing plan and the coaching decision your staff needs to make.
For facility owners and coaching organizations, review TopVelocity organization registration to explore the organization training pathway.